Make something
How to make a simple handmade card at home
Make a folded card with paper, a pencil and a few colors: a three-shape flower design, what to write inside, and how to size it so it mails at the regular letter price.
By Mori · 4 min readPublished · Updated

A handmade card needs one sheet of sturdy paper, a pencil, a few colors and about half an hour. Fold the paper, draw one simple shape on the front, write a specific note inside and put it in an envelope you already have.
If you plan to mail it, decide the size before you fold. US mail treats a square card as nonmachinable, which means extra postage. A rectangular card that fits a standard envelope avoids that.
What you need
Use paper heavy enough to stand up once folded. Card stock works well; ordinary printer paper folded twice is a fine substitute.
- One sheet of card stock or heavy paper.
- A pencil and an eraser.
- One or two colored pencils or felt-tip pens.
- Optional: a glue stick and a scrap of patterned or wrapping paper.
- An envelope, if you are mailing the card.
Choose a size that mails easily
Check your envelope first, then cut the paper so the folded card slides in with a little room. For a card to mail at the standard letter price, USPS requires it to be rectangular and between 3½ × 5 inches and 6⅛ × 11½ inches, and no more than ¼ inch thick.
Shape matters as well as size. USPS treats a letter as nonmachinable if its length divided by its height is less than 1.3 or more than 2.5, which rules out square envelopes. Rigid pieces and lumpy decorations such as buttons are also nonmachinable, so keep decorations flat.
| Envelope (length × height) | Length ÷ height | Regular letter price? |
|---|---|---|
| 5¾ × 4⅜ in | 1.31 | Yes, just inside the 1.3 minimum |
| 7¼ × 5¼ in | 1.38 | Yes |
| 9½ × 4⅛ in | 2.30 | Yes |
| 5½ × 5½ in (square) | 1.00 | No: nonmachinable surcharge |
Draw a three-shape flower
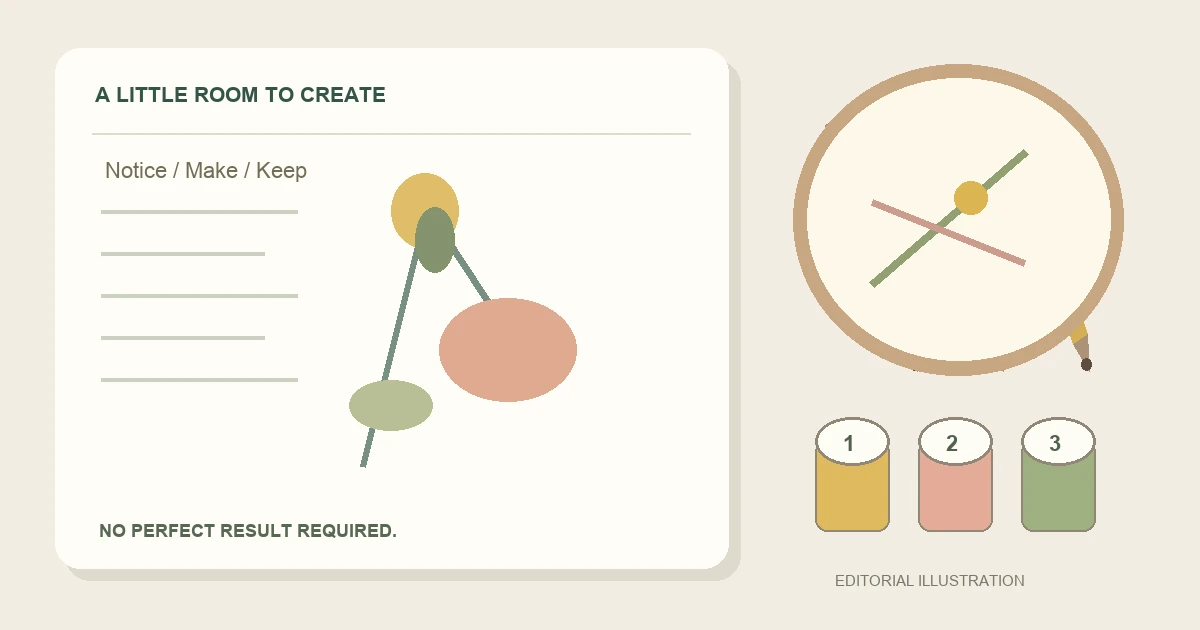
This design uses three simple shapes and leaves plenty of white space, which keeps it calm and easy to read.
- Fold the paper in half with the fold on the left, like a book.
- On the front, lightly pencil one circle about the size of a coin, a little above center.
- Draw a stem straight down from the circle and add one leaf on each side.
- Color the circle and leaves. Leave at least an inch of empty border around the design.
- Erase any pencil lines that still show once the color is dry.
What to write inside
One specific detail makes a short note feel personal. Name a moment, rather than a general wish. For example: “I saw the first daffodils today and thought of our walk last spring,” or “Thank you for the chat on Tuesday. It made my week.”
Test your pen on a spare corner first to make sure it does not show through the paper. Let the inside dry before closing the card.
If something goes wrong
A smudge or stray line: cover it with a small paper shape and make it part of the design.
The pen bled through: glue a slightly smaller piece of paper inside as a new writing panel.
The card will not close flat: press it under a heavy book for an hour.
Make the next one quickly
Keep the same layout and change one thing: a different color, a paper heart in place of the circle, or three small flowers in a row. A repeatable design makes the next card much quicker to finish.
Making cards with someone else? Our guide to planning a creative afternoon with a friend has a simple two-hour plan.
Common questions
What paper is best for a handmade card?
Card stock or other heavy paper that stands up when folded. If you only have printer paper, fold it twice into quarters for extra stiffness.
Do square cards cost more to mail?
Yes, in the US. USPS treats square envelopes as nonmachinable, so they pay a surcharge on top of the standard letter price.
How long does a simple handmade card take?
Allow about 30 minutes for a first card, including drying time. Once you have a design you like, repeats are much quicker.
Sources
From the Mori notebook. How we research and write our guides, including our use of AI tools.
Back to the notebook →